
How to Mount a Solar Panel at Home
Solar energy systems are now finding a place in most homes due to a combination of economic and environmental benefits. It all comes down to whether you've used the right components, i.e., roof attachments, mounting rails, and module clamps. Also, proper installation is important, so you can call upon a professional who charges thousands of dollars or builds your own solar system. If you prefer the latter, the question would be, how to mount a solar panel at home? Don't worry, you're at the right place.
This guide details the step-by-step process for mounting solar panels on the roof, the materials needed, and common mistakes people make during installation. When installing solar panels and mounts, you need the best, and Renogy is one of the most reputed manufacturers.
Why build your own solar power system at home
Installing your solar power system can potentially reduce energy costs and make your home more eco-friendly. Many say that a DIY solar system can save up to $5,000 compared to professional installation, as it eliminates overhead and labor costs.
However, solar installation requires skilled work, and no amount of DIY guides or online tutorials can replicate the years of installation experience professionals hold. An amateur installation poses a risk of system errors and can harm you physically and potentially damage your home.
Types of solar panel mounting structures
As the mounting structures determine the solar panel tilt and its overall efficiency, generation ability, and duration, selecting one that fits your needs is crucial. Also, a good mount is stable and can withstand hail, wind, snow, rain, and even moderate earthquakes.
Now, there are primarily five types of solar mounting structures, which are as follows:
Rcc Roof Mounts
RCC, or Reinforced Cement Concrete mounts, are structures used to install solar panels over concrete roofs. In these setups, the distance between the solar inverter and solar array is less, which reduces the required wiring and DC losses. As a result, these are a typical sight in solar installations in residential and commercial segments.
These mounting structures, however, require roof penetration and, if not sealed properly, can cause roof leaks. Another downside of these structures is if the roof angle and orientation aren't right, your system will waste a lot of energy.
Ground Mounts
Ground mounts place your solar panels on the grounds of your property. It's useful if your roof lacks adequate installation space or is excessively shadowed by the trees. However, the ground installation makes the solar panels vulnerable to dirt, leaves, vandalism, and snow accumulation. Therefore, these require high maintenance.
Solar Carports
Carports are similar to ground mounts, except they are installed at a certain height to allow a car parking space underneath. You can build them into EV charging stations, which are suitable for residential and commercial consumers. These sleek solar carports potentially enhance the aesthetics of the space.
For carports, you need durable and efficient solar panels, and you can consider investing in Renogy Bifacial 450 Watt Monocrystalline Solar Panel. These are more efficient, durable, and reliable than traditional solar panels and can deliver optimal performance in cloudy and snowy weather.
Shed Mounts
Shed mounts are essentially rooftop solar mounting structures, but rather than concrete roofs, they're installed on sheet/metal shed roofing. These are more common in residential and commercial structures, and unlike concrete roof mounting, you don't need to worry much about a leaked roof.
Tracking Structures
These structures are typical for solar water pumping and solar tracking systems. Solar trackers are automatic devices that track the sun's direction all day long and rotate the panels accordingly for the best solar exposure. These are especially beneficial in hot areas.
Although they are more efficient and require less maintenance than other types, they aren't very common due to their high cost.
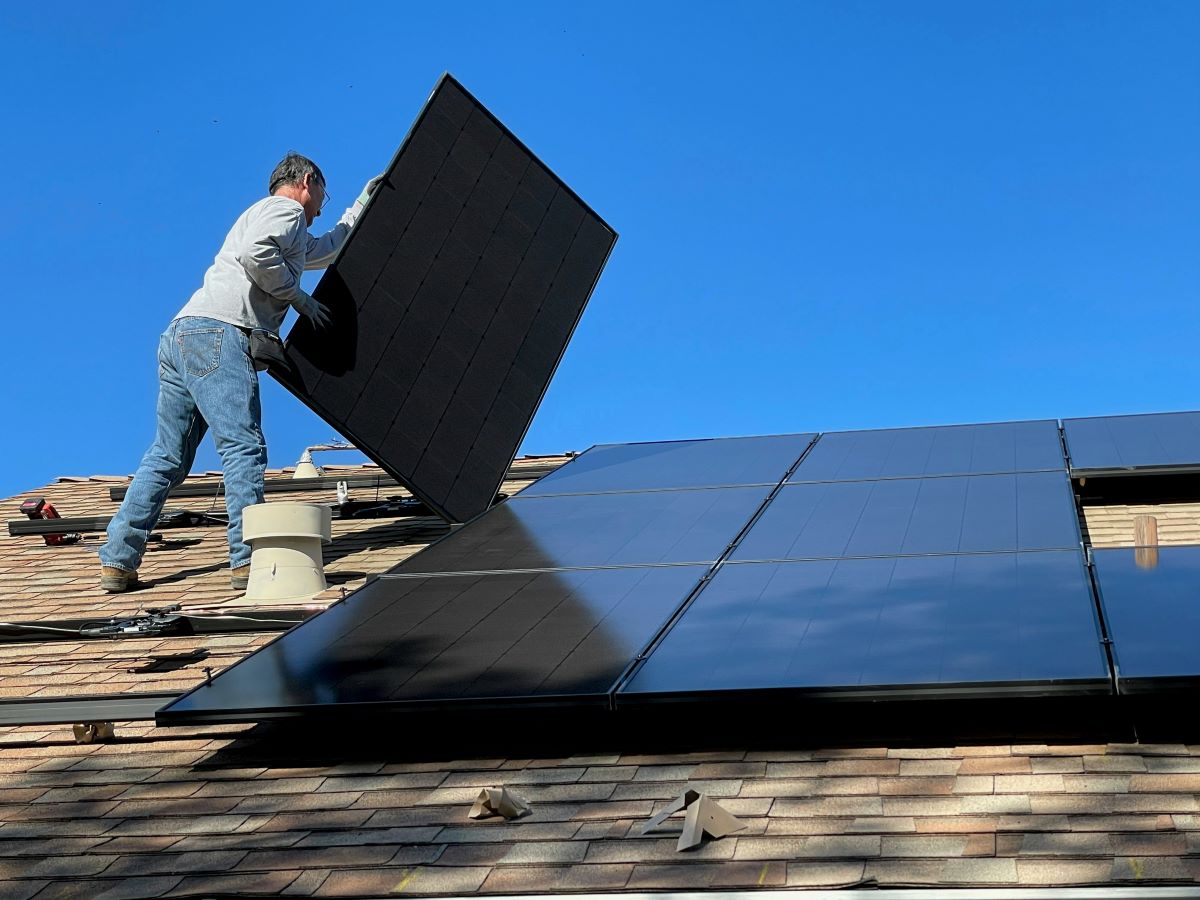
How to mount solar panels yourself
Now that you've purchased the solar panels and don't want to pay thousands for installation, you can DIY install them. But ensure you're versed with using a hammer, screwdriver, nail, and drill. If yes, follow the steps to mount solar panels on the roof:
Step 1: Identify the Area
Determine the area of installation, which is wherever it will receive the most sunlight. Also, ensure buildings, trees, or other structures don't block the sunlight.
Step 2: Determine the Latitude Tilt
Determining the tilt of solar panels is as important as identifying the location in terms of efficiency.
The formula is latitude plus 15° in winter and minus 15° in summer for the Northern Hemisphere and latitude minus 15° in winter and 15° in summer for the Southern Hemisphere. So, if you live below 25° latitude in the Northern Hemisphere, your tilt would be around 40° during winter and 10° during summer.
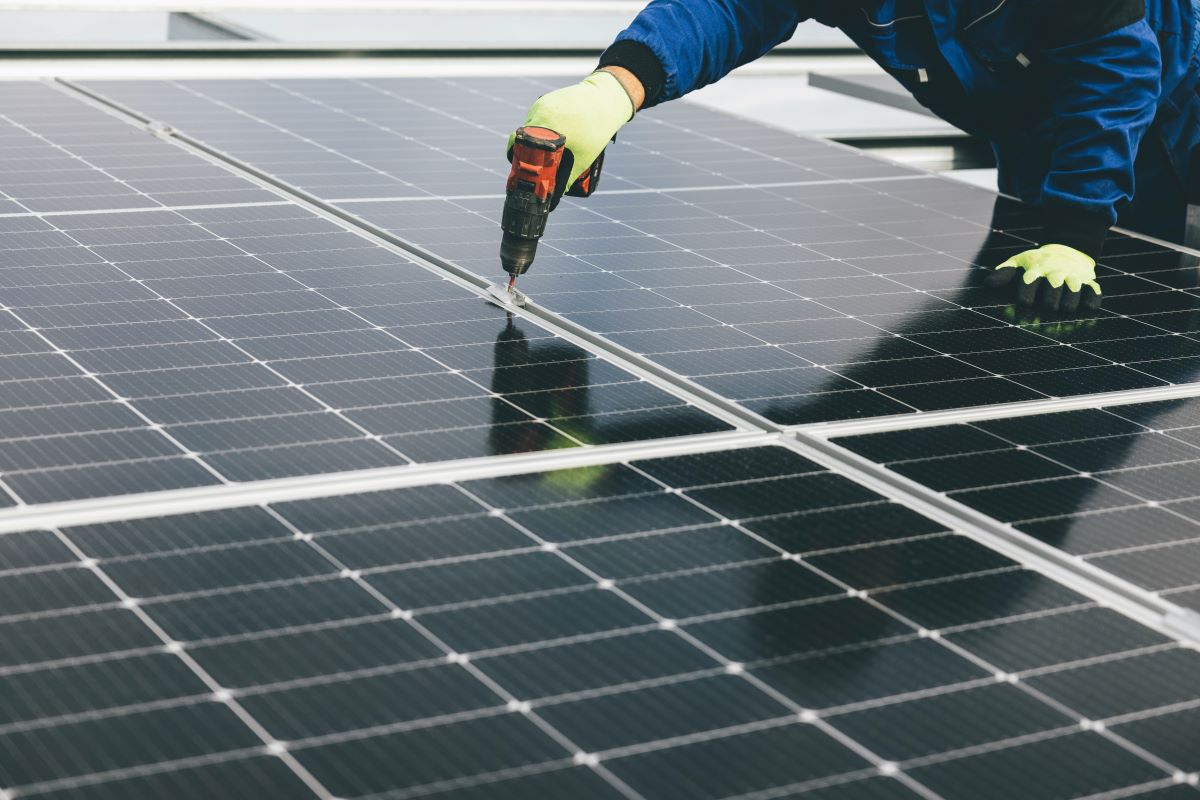
Step 3: Start the Installation
To start, find the rafters in your home (use a stud finder or the blueprints of your home) and place the mounts four feet apart and on top of it. Then, drill the holes into the rafters properly and secure the mounts with steel bolts. Ensure to properly seal under the bolts to keep the thermal envelope air-tight.
Step 4: Fasten the Panels
In the next step, fasten the panels onto the mounts. Usually, solar panels come with an easy-to-fasten panel-to-mount interface, and if not, ensure the screws are tight enough. Also, keep the panels away from the roof at least a quarter of a foot to maintain airflow and let the panels operate at maximum efficiency.
You can invest in Renogy Corner Bracket Mount, a drill-free alternative mount for your solar system that secures the panels well. The mount lifts your solar panel to an optimum height and establishes an air gap between the panel and the surface. It helps establish a proper temperature so that the performance of solar panels isn't compromised.
Step 5: Solar battery installation
You've successfully mounted the solar panels on your roof. Now, call a professional to connect it to your electric supply and ensure a steady power supply throughout the home.
Tips to mounting solar panels
Just knowing how to mount solar panels on the roof won't be enough to ensure a successful installation. There are a few things to keep in mind, which are as follows:
What are the required components for mounting solar panels?
Solar panel mounting systems typically have three primary components: roof attachments to secure the racking system using bolts, mounting rails to hold the panels, and module clamps to secure them. RCC mounts are most commonly used in residential and commercial setups as they reduce wiring and prevent DC losses. However, you must seal them properly to avoid any leaks.
Choosing materials for solar panel mounting
When choosing solar panel mounting materials, you can consider factors like:
- Weight: Weight is the primary consideration when mounting solar panels on the roof. Steel, aluminum, and stainless steel are the common construction materials, with aluminum being the lightest and is easily adjustable.
- Durability: The materials must be durable enough to withstand environmental conditions like wind, rain, snow, and UV radiation. Also, they should resist rust and corrosion if you reside in coastal or humid areas.
- Eco-friendliness: Last yet important, ensure you select sustainable materials that reduce your carbon footprint.
Common mistakes to avoid when mounting solar panel on a roof
Irrespective of the experience, people make mistakes when installing solar systems. Here are some common mistakes people make:
- Purchasing Overpriced System: Many people invest in a solar system that produces more energy than they need. Also, not all expensive solar panels/mounting systems are good, so make sure to conduct thorough research before investing in them.
- Not Making a Component Checklist: To avoid this mistake, create a checklist of components you need, including solar panels, a power inverter, a charge controller, and a battery.
- Not Knowing the System Dimensions: To avoid this, figure out your energy requirements by adding up the wattage of appliances, followed by how big a solar system you need.
- Not Performing a Roof Assessment: Older roofs won't be able to support the panel weight, and any installation that involves drilling the roof can impact its structural integrity. Also, ensure that the solar panels are installed in an area with minimal shade.
- Wiring Issues: Old or faulty wiring can hinder the performance, so call upon a professional to inspect it properly.
Conclusion
Solar panel installation is the premier step towards achieving energy independence. By knowing how to mount a solar panel at home, you can save up to thousands of dollars upfront in installation. But irrespective of your experience, you must be careful when drilling the holes, fastening the mounts, and connecting the wires, as any error can damage the system, or you might end up hurting yourself. It's crucial to choose high-quality solar panels and mounts that are durable, efficient, and reliable, which is where Renogy is a solar brand that truly excels. The efficient and high-quality panels and mounts are known to last long without any need for repairs!
FAQs
What is the cost of installation of solar panels?
The cost of installing solar panels varies from company to company, but typically, they charge a combination of labor costs and the price of panels per watt. In general, the installation costs vary between $5,000 and $12,000, depending on the size of the solar system and the type of panels.
How often do solar panels need maintenance?
Solar panels don't require much maintenance, but you can check your system documentation or consult your solar retailer for a maintenance schedule. In general, it's recommended to clean the solar panels two to four times a year, depending on the location and the weather. For example, if it rains a lot where you live, panels won't need much cleaning.
How long do solar installations take?
Solar installation takes anywhere from a few hours to several months, depending on the system size, complexity, weather conditions, and other factors. The time frame is usually a few hours to days if you opt for a professional and more if you decide to build it yourself.
What is a DIY solar panel?
A DIY or Do It Yourself solar panel is a system that a person with some technical expertise can install themselves. These are a cost-effective way to install a solar system and are a great choice for small projects such as in RVs, small homes, etc., as professional installation can cost thousands of dollars.
Is it difficult to install solar panels by yourself?
Yes, self-installing solar panels can be a bit complicated and demands a lot of time and expertise. Some say it's manageable with the right tools and knowledge, while others find professional installation the right choice for warranty and safety reasons. In the end, it depends on your technical expertise and knowledge.


