Troubleshooting Guide for DC-DC Charger
This article provides Renogy DC-DC charger troubleshooting guidance, aiming to help users troubleshoot common issues.
Applicable products:
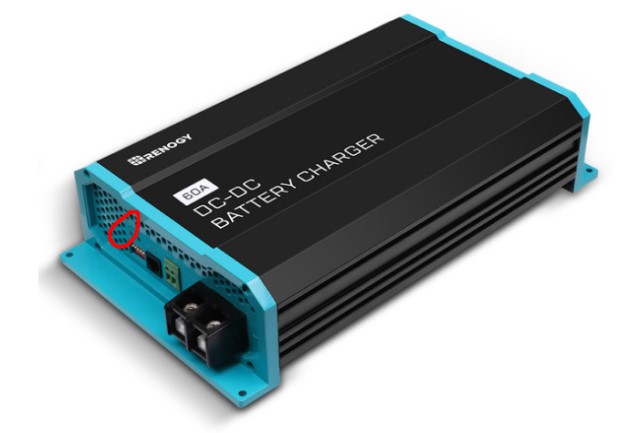
 12V 20A DC to DC On-Board Battery Charger View more
  12V 40A DC to DC On-Board Battery Charger View more
  12V 60A DC to DC Battery Charger View more
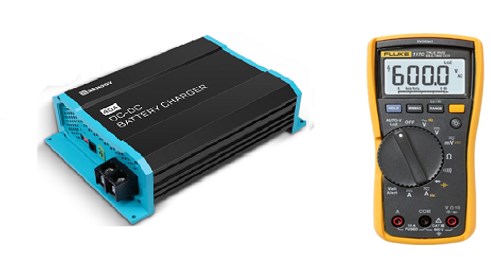
Tools required: multi-meter.

First, check the system wiring to confirm that the polarity is correct and there are no loose connections. Once confirmed, appropriate troubleshooting can be done for different issues.
Green Power Light Not On
Symptom:

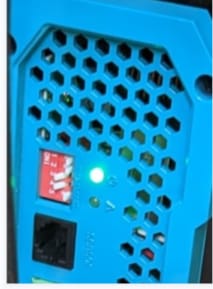
If the green power LED light on the charger does not light up during use, you can measure the input voltage and D+ voltage of the charger with a multi-meter while the engine is running. If the measured values are both above 9V but the green power LED light still does not light up, the charger may be faulty. Please provide the following photos to Renogy technical support team for further processing:
- Picture of charger with no green power LED light
- Pictures for measuring the voltage at the input of the charger and the voltage at D+
If there is no voltage or the voltage is too low on the D+ terminal, it is necessary to check whether the voltage sampling point of the D+ wire is loose or has no voltage.
If the input voltage is less than 9V, it is necessary to check if the starting battery is discharged.
The Green Power LED Light Is On, the Red Fault LED Light Is Off, and the Charger is Not Charging
Symptom:

If the charger is running normally, but it cannot charge the battery, first check the DIP switch settings to see if they match the recommended charging voltage for the battery.
If the DIP switch settings are correct, measure the output voltage of the charger with a multi-meter when only the input and D+ wires are connected. If there is a significant deviation from the voltage value corresponding to the set DIP switch, please contact Renogy.
If all the above measurements are normal, the cause may be the battery. Please contact the battery manufacturer for further investigation.
Both Green Power and Red Fault LED Lights Are On
Symptom:

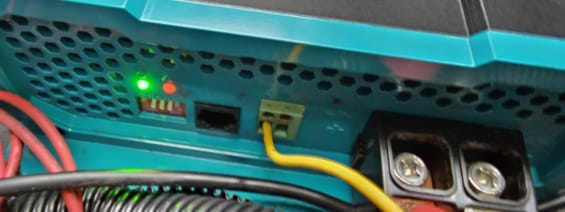
If both the green power and red fault LED lights of the charger are on, you can first use a multi-meter to measure the voltage at the input and output terminals of the charger to see if it is within the normal operating voltage range of the charger. (8-16V)
If the voltage measurements are normal, check the installation environment of the charger, as well as the length and specifications of the connecting wires, to ensure that the installation environment temperature is appropriate and the wire specifications are suitable without looseness.
At the same time, you can also try to disconnect the wires on the charger and reconnect them to see if the fault light disappears.
Low Charging Power
Symptom:
If you encounter a situation where the charging current is not reaching the expected level, you can follow the steps below to troubleshoot:
Check if the LC line is connected.
Verify the settings of the DIP switch are correct for the type of battery you’re using.
Check to see if the battery is fully charged or nearly fully charged.
Confirm the Alternator specification. If possible, use a clamp meter to measure the current at the input of the charger to see if the low output of the charger is due to a low input power.


