How to Use a Digital Multimeter: A Beginner's Guide
Do you often have to deal with electrical circuits, devices, and components? A digital multimeter will be your efficient partner in diagnosing, troubleshooting, and testing. It is an ideal device for DIY projects and electrical repairs.
Analog meters were used earlier for the same purposes, but the very first digital meter (introduced in the 1970s) was much more precise than traditional ones. Whether you want to measure AC or DC voltage, amperage, or resistance of any circuit or device, a digital multimeter will lend you a helping hand.
If you have never used this device before and are wondering how to use a digital multimeter, you have come to the right place. This article explains everything in detail.
What is a digital multimeter?
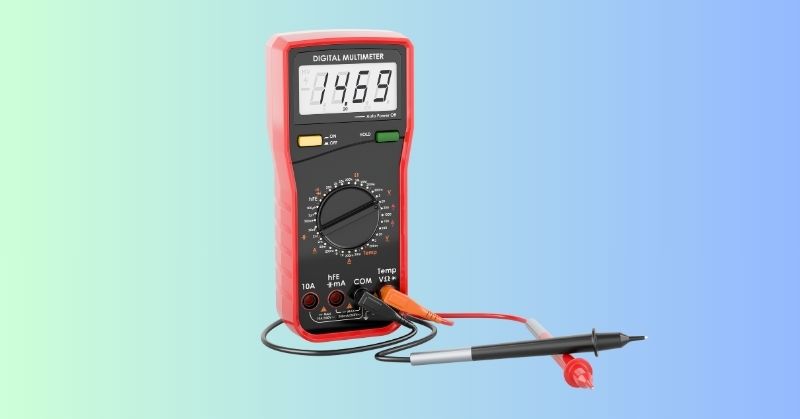
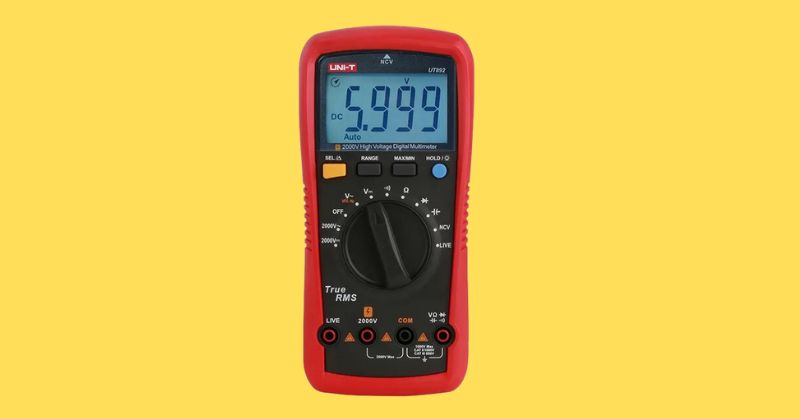
You might be wondering what is a digital multimeter used for. Well, an electrical tool designed to measure electricity and display the stats in digital form is called a digital multimeter. It is the simplest definition of this tool. Sometimes, it is also called a multi-tester or volt-ohm meter. Therefore, if you hear these names, don't confuse them with any other electrical tool or device.
If you want to know whether or not your wall plug is functioning properly, you can use a digital multimeter to check for voltage, current, power, and resistance. You can also use this tool to test your power supplies, batteries, surge protectors, and other electrical equipment.
The most common features of a digital multimeter are measuring the DC voltage for batteries, AC voltage for electrical plugs, resistance in ohms, and current in amperage. When using a digital multimeter, always start with a high range. Then, you can adjust its range according to your requirements.

Why does a digital multimeter matter?
If you are concerned about faults in your electrical systems, you can use a digital multimeter to locate anything unusual. Primarily, the faults are of three types: misconnected, disconnected, or shorted wires. They can be very dangerous if not fixed on time. These faults may result in fire, sparks, smoke, and other similar safety risks.
The best thing about a digital multimeter is that it has the ability to isolate the issue promptly before it becomes a matter of serious concern. Once you are familiar with using a digital multimeter, you can use this tool for a variety of tasks. Electricians must have this tool before they inspect any circuit or device to find and resolve electrical issues.
Simply put, anyone who has to deal with electrical circuits or devices should have this tool in their toolbox for easy testing and troubleshooting.
How to measure DC voltage using a digital multimeter?
This section presents a complete step-by-step guide to measuring DC voltage. Let's learn how you can measure the voltage of your batteries.
Step 1: Disconnect the battery charger or anything else connected to your battery. Technicians mostly use this tool to measure the car battery voltage.
Step 2: Set your digital multimeter to DC voltage. If you have an auto-range unit, you don't need this setting.
Step 3: Now, adjust how many volts you want to measure. If you don't know the exact number of volts, you can simply start from the highest setting and adjust it according to your needs later. If the tool is auto-range, you don't need this setting, either.
Step 4: Put the red wire in the DC voltage jack. V– or VΩ.
Step 5: Put the black wire into the COM jack.
Step 6: Connect the red plug to the positive terminal of your car battery.
Step 7: Connect the black wire to the negative terminal of the battery.
Step 8: Note the reading displayed on the multimeter's screen.
Step 9: Disconnect the red probe first and then the black one.
Most cars use 12V batteries. If the voltage you see on your digital multimeter is below 10.5V, it indicates that the battery voltage is low and needs recharging. If you see the readings in the negative number, simply switch the red and black probes with each other. The answer will still be the same but without the negative sign.

How to measure AC voltage?
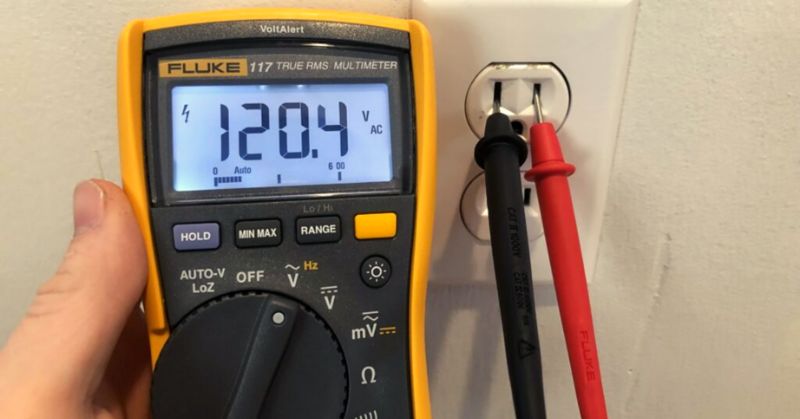
Now that you know how to measure DC voltage using a digital multimeter. It is time to learn how to measure AC voltage with the same tool. Since most of our home appliances run on AC electricity, using a multimeter for measuring AC voltage is common. The steps included in this process are listed below.
Step 1: Set the digital multimeter parameters to read AC voltage. Start with the highest range and adjust it later.
Step 2: Make sure that your multimeter is set to a higher voltage than the one printed on your cord—120 volts for small two-prong and higher voltage for three-pron appliances.
Step 3: Put the black wire into the COM jack.
Step 4: Put the red probe into the AC voltage jack. It is usually labeled with V, VΩ, or VΩmA.
Step 5: Put the other side of the black probe into the neutral slot of an AC plug.
Step 6: Put the other side of the red wire into the hot or live slot of an AC plug.
Step 7: Check the reading on the display. The volts for a small hand mixer and a coffee grinder will be 120V and 300V, respectively.
Step 8: Once you have the reading you need, remove the red wire first and disconnect the black probe.
Note: If your digital multimeter offers an automatic feature, set the correct AC mode manually to get more precise results.

How to measure resistance?
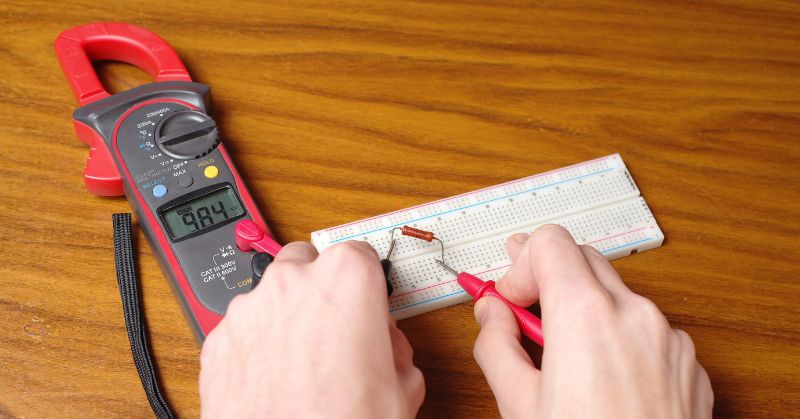
When it comes to identifying electrical problems in circuits or devices, measuring resistance plays a crucial role. A digital multimeter is a perfect tool for testing whether the resistor carries the correct amount of power. You can measure the resistance with a digital multimeter by following the steps below.
Step 1: Disconnect the component you want to test with the multimeter. Ensure it is removed from batteries or other circuitries to make sure no current is flowing through it.
Step 2: Set your multimeter to read the resistance in ohms. Look for a number on the resistor if it is mentioned. If mentioned, set the multimeter to that particular value or number.
Note: If you are not sure about the resistor's range, start with 200Ω or even higher. Some multimeters show “1.” This means that your resistor has a higher capacity than the current setting.
Step 3: Plug the black wire into the COM jack and the red probe into VΩ.
Step 4: Touch the other sides of both red and black probes to both sides of the resistor. You don't need to take care of positive and negative wires here.
Step 5: Gradually reduce the Ω range on your digital multimeter. Once your setting matches the resistor's range, a specific number will be displayed on the meter.
Alligator probes are useful for measuring the resistance of multiple resistors. They make the whole process a lot easier than usual.

What to consider when choosing a digital multimeter?
Now that you know how to use a digital multimeter for measuring AC/DC voltage and resistance. Remember, you'll get accurate results only if you have the right multimeter. Here's what you should consider when buying a reliable digital multimeter.
1. Capabilities
The capabilities of a digital multimeter show the tool's ability to measure different readings. If you need a meter for various kinds of electrical work in the US, make sure it can measure voltage of 110-120V and current of 100-200A for most residential settings. In addition, a multimeter should be able to read resistance to find faults. Capacitance measurement and diode testing can be other advanced features to consider.
2. Accuracy and precision
The accuracy of a meter means how close its reading is to the actual electrical value. In contrast, precision is the name of readings' repeatability under the same situations. A digital multimeter's precision and accuracy are represented by the percentage value to show the margin of error, which should be as minimal as possible.
3. Safety
The safety of the meter ensures both the instruments' longevity and user safety, so overload protection is the one you must consider. It protects the appliances and users from voltage and current beyond its capacity. Always buy digital multimeters that meet CSA and UL standards to ensure greater safety.
4. Resolution
The detailed resolution covers the smallest increment of the values you want to measure. Consider buying a digital multimeter with high resolution to record minor fluctuations in all electrical readings.
5. Budget
When buying a multimeter, budget should not be your primary concern, but it should at least balance the required features. Purchase a cost-effective meter with decent functionalities.
Safety tips for using a digital multimeter
Though a digital multimeter is an incredible device for measuring current voltage, and resistance, it can't always be entirely safe. To avoid any inconvenience, follow the tips below.
1. Check the meter's rating
Ensure your digital multimeter is rated for the voltage you want to measure. If it is not, an arc flash may occur. In that case, electrical current will leave the path and travel from one conductor to the other. It may cause injuries and even death (in the worst cases). Though most multimeters are rated for 600V, you should always know the limits.
2. Check for the correct setting mode
Never forget to ensure you're in the correct setting mode before connecting the meter's probes to any circuit or connection. If you set the multimeter to read the current value and start measuring voltage with it, the meter will get damaged in no time.
3. Don't mix probes
Always keep both probes away from establishing wrong connections. One mistake can lead to several issues with your meter and electronics. The red probe is always connected to the voltage/resistance, and the black probe to the COM jacks. Putting it in the amp port may result in a short.
4. Avoid shorting out wires with probes
The correct placement of probes requires your careful attention. If you touch a probe to a connector mistakenly, it can short out wires and circuit boards on devices. This may make your electronics worthless.
Conclusion
A digital multimeter is an impressive tool for measuring all key electrical values: AC/DC voltage, current, and resistance. If you frequently work with electricity, you must have one for quick and accurate readings.
The discussion above has presented detailed guides on how to use a digital multimeter to measure voltage and resistance. When buying a digital multimeter, consider factors like capabilities, accuracy, resolution, safety features, and budget for safe, efficient, and precise measurements.


