Got an Engine? Get a DC to DC Charger!
Do you travel in a motorhome, van, or travel trailer?
Do you want to get away from crowds and try boondocking in beautiful and remote areas?
Do you want to extend your time in between electrical hook-up campsites?
Do you want to travel in low sun environments or at night and still charge your RV batteries while driving?
If you've answered YES to any of these questions, you are not alone. Read on to meet some people who have made the most of a DC to DC charger to augment their mobile solar powered system.
Simply put, if you have an engine that drives, pulls, pushes, or otherwise moves your mobile house around, then you have a built-in way to charge up your house or auxiliary batteries – even if you’re already connected to solar power. Many tow-behind RVs claim that the house batteries will charge while driving, but the small trickle charge (around 5A) isn’t enough to do more than keep them topped off. Many vans and motorhomes have battery isolators which try to do the job as well, but miss out on the opportunity to integrate solar into a true multi-source battery charging plan. No matter what time of day you’re driving, or whatever the weather throws at you, these two types of DC to DC chargers will help extend your off-grid experiences!
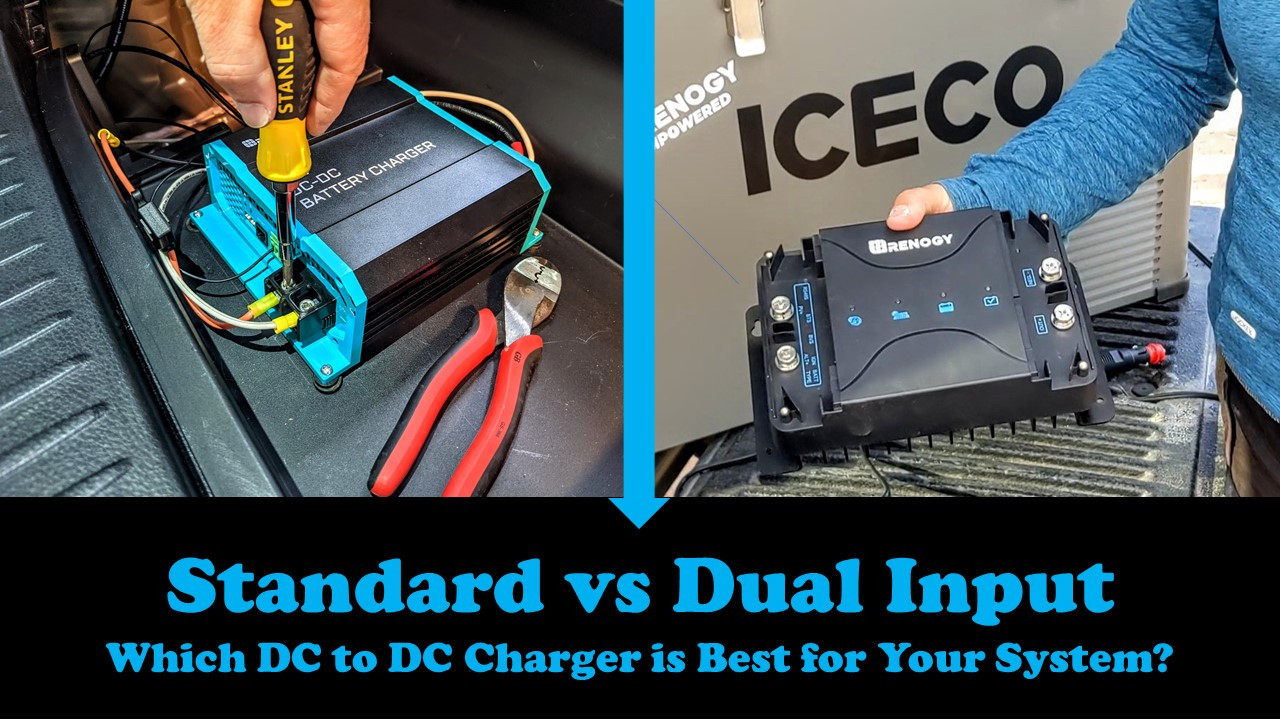
1) Standard DC to DC charger boosts the trickle charge coming from the starting battery/alternator up to 20A, 40A, or 60A (depending on the model).
2) Dual Input DC to DC Charger (available in either 30A or 50A) can accept a charge from the engine AND a solar panel array. This eliminates the need for a solar charge controller in your system as the Dual Input does the job of both an MPPT charge controller (brain of the system) and DC to DC charger (boost from the engine).
Which style and size is best for your rig? Check out this blog for specific sizing requirements for your system.
Meet “Nigel the Red Van” and his owners, Allison & Mike, from Colorado
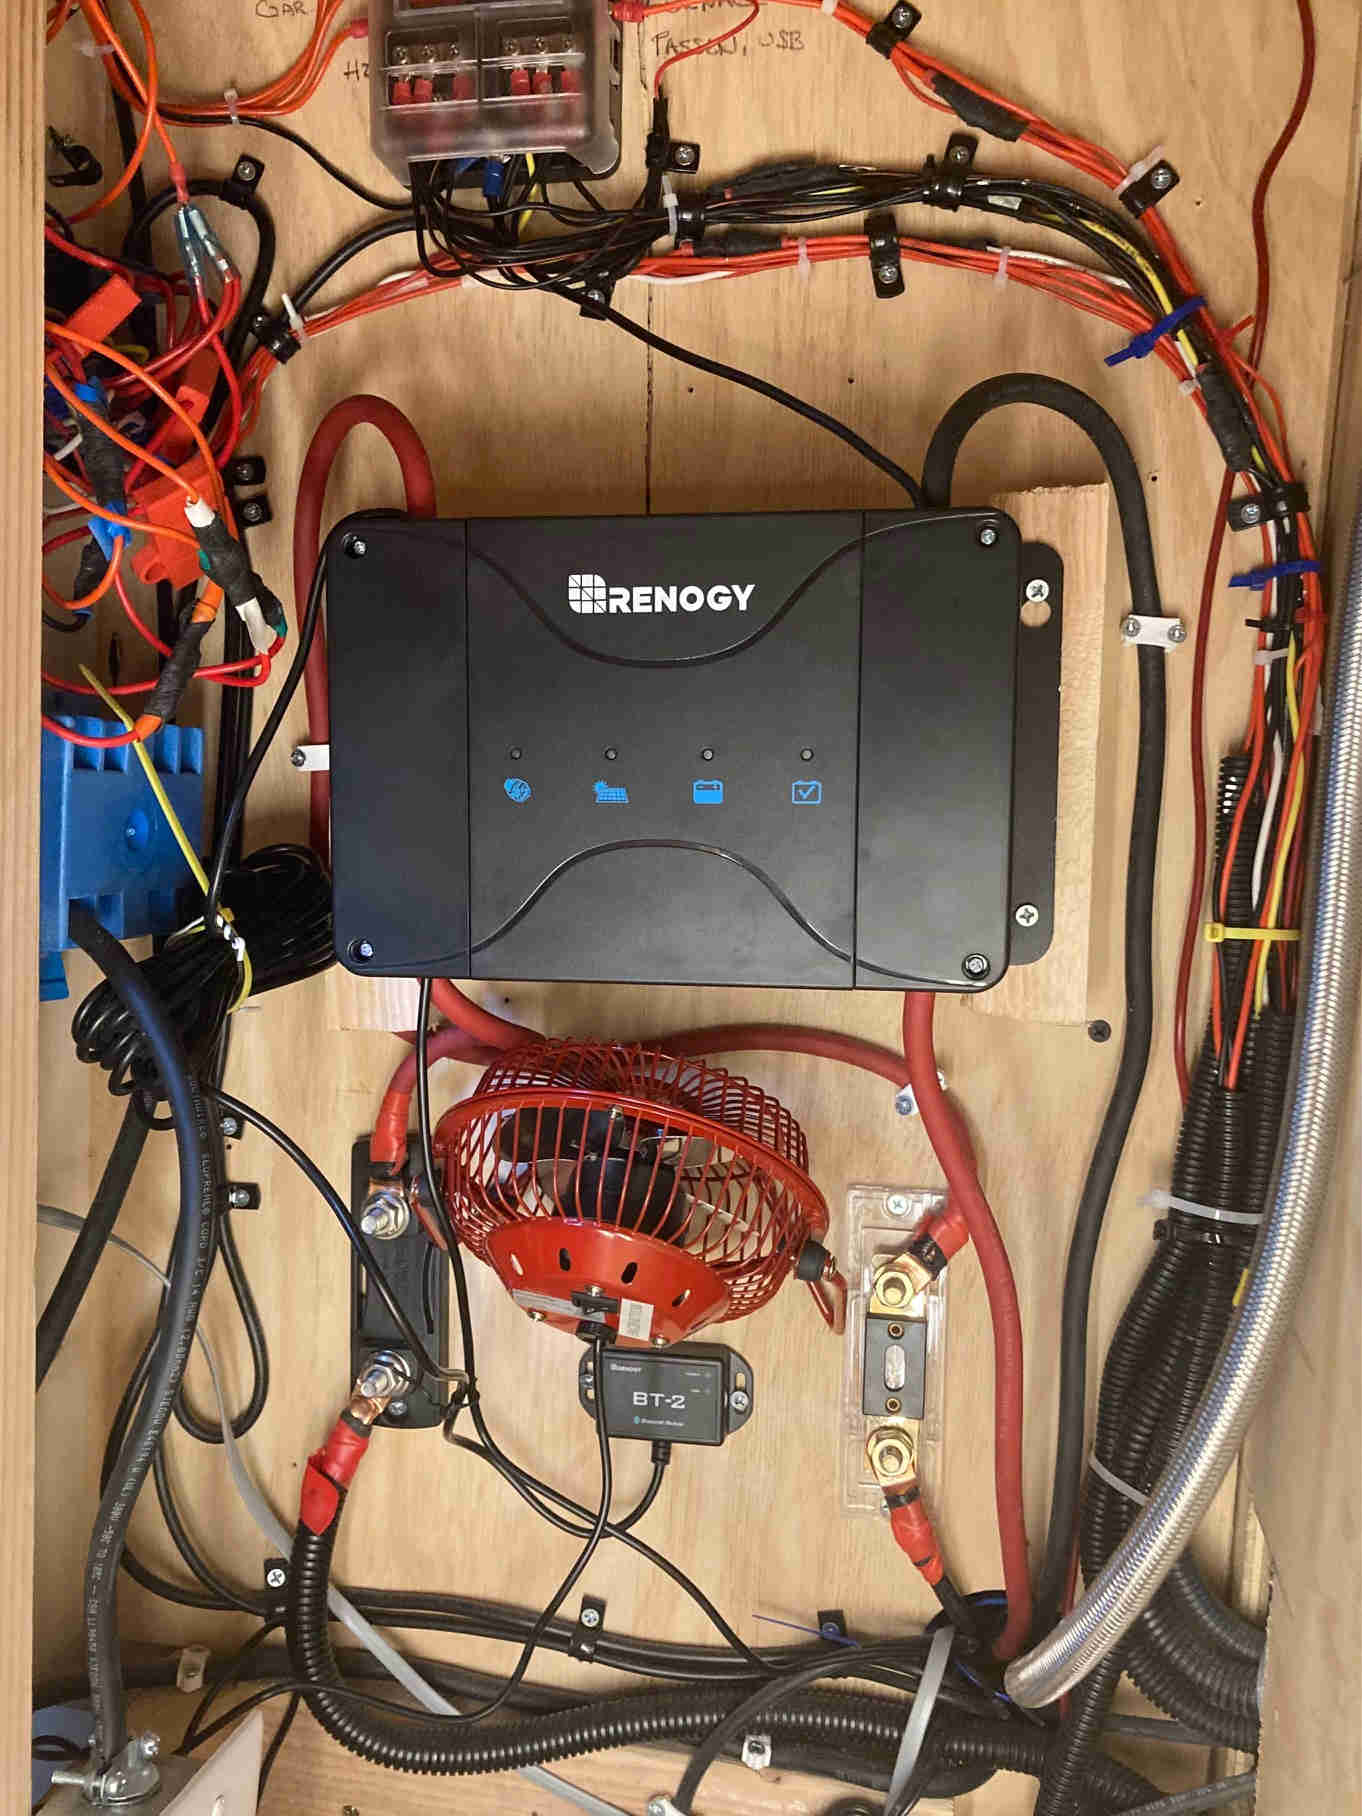
In 2020, Allison and Michael bought a partially restored van with an older solar powered system which didn't meet their energy needs. During their own remodel phase they reached out to us to help get their heads around their energy demands and how to power them. The timing was right because Renogy had just released their Dual Input Charger which seemed perfect for their needs. They added a 170Ah Lithium Iron Phosphate battery and a 30A Dual Input DC to DC battery charger to what the van already had. The two 100W solar panels were of unknown origin and were only pulling in a combined total of 8A during peak sun hours. So, they relied heavily on the Dual Input while driving to bring their charge back up.

Lesson Learned: Mike had what he calls an “Ah-Ha” moment while using their 30A charger. The Dual Input charger limits the charge amperage between engine input (15A) and solar input (15A) when it detects a charge coming from the solar panels. With no solar input while driving at night or in the early morning, he would observe a 30A charge on his battery monitor. But during the afternoon while the solar panels were pulling in 8A, he would only see 23A (15A engine, 8A solar). So, to control the limitations of the solar panels, especially on cloudy days, he installed an inline switch on his solar panel input. This allows him to cut out the solar input and get the full 30A charge while driving. Then, they use their solar panels to keep the batteries charged up while not driving. Just be sure to turn the switch back on while parked!
They liked this option so much that they swapped out the 30A version for the 50A, as they learned that their 170A LFP battery has a maximum charging current of 85A and could benefit from the increased amperage from the larger model (see sizing information for details). The only modification he had to make to his solar component cabinet for this upgrade was to increase the ventilation (by adding a small fan) since the larger charger runs a bit warmer. Within an hour of driving, they can charge up all that they need for the next 24-48 hours. At this capacity, they can watch movies, charge devices, run lights, water pump, 12V fridge, and even run the furnace fan. Even in the middle of summer, those Rocky Mountain nights can get frosty!
Meet Jenny, Jim & “Mo” from North Carolina
Our good friends from our hometown have followed our travels all over the continent for the past 9.5 years, and decided to dive in and buy a fully restored 1959 Detroiter to do some traveling on their own, as well as have an easy place to stay when they visit family.
We walked them through what they needed in the way of solar gear, and with some help from a mutual friend in our hometown, they installed a complete solar powered system including a 30A Dual Input DC to DC Charger and 100Ah Lithium Iron Phosphate battery. Since they didn’t want to install permanent solar panels on their vintage roof, taking advantage of an engine charge just made sense. Then, when they are parked and disconnected from their truck, they have two 100W Eclipse Solar Suitcase panels they can use to boost up their battery through the Dual Input charger.

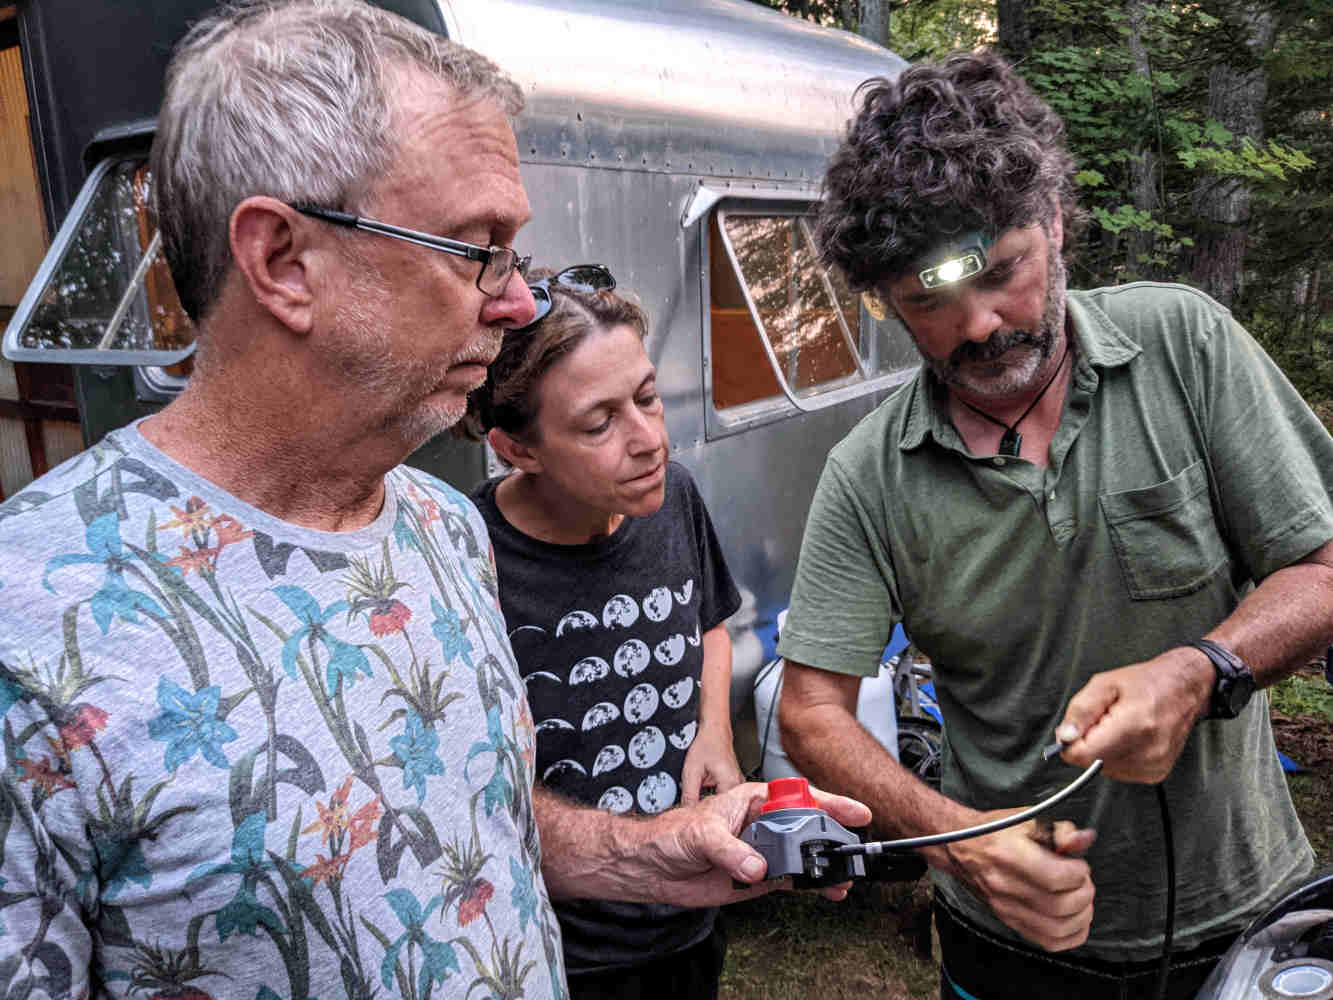
DIY Tip:Using Anderson Connectors allows them to keep the Dual Input charger in their camper, right in the battery/electrical compartment. This allows them to remove the truck and connect their solar panels while boondocking. Since they don’t always pull Mo (their camper), it was a good idea to install a switch in the engine to turn off the power going to the Anderson Connector on their bumper. This is an added safety feature to ensure that they don’t have a hot wire connection when they don’t need it. The trick is to remember to turn it back on when reattaching their camper!
After their first big trip this summer, we asked them how everything was working. They were excited to tell us that "The dual input works so great that we rarely need to even connect the solar suitcases unless we are staying put for more than a few days!" Combined with their 100Ah Lithium Iron Phosphate battery, the Dual Input is doing the job of charge controller AND a DC to DC battery charger.
Meet Jim, Margaret, & “Cassie” from Michigan
In 2017, at the age of 77, this spry couple bought Cassie, their Winnebago Minnie Winne travel trailer. While they enjoy state parks and private campgrounds with electrical hookups, they kept hearing about the fun off-grid opportunities like Harvest Hosts and more remote campsites and wanted to give it a go. Their biggest concern was how to power their basic electrical needs: lights, vent fan, coffee maker, phone charger in between electrical hookups – and especially Jim's CPAP machine for a good night’s sleep.
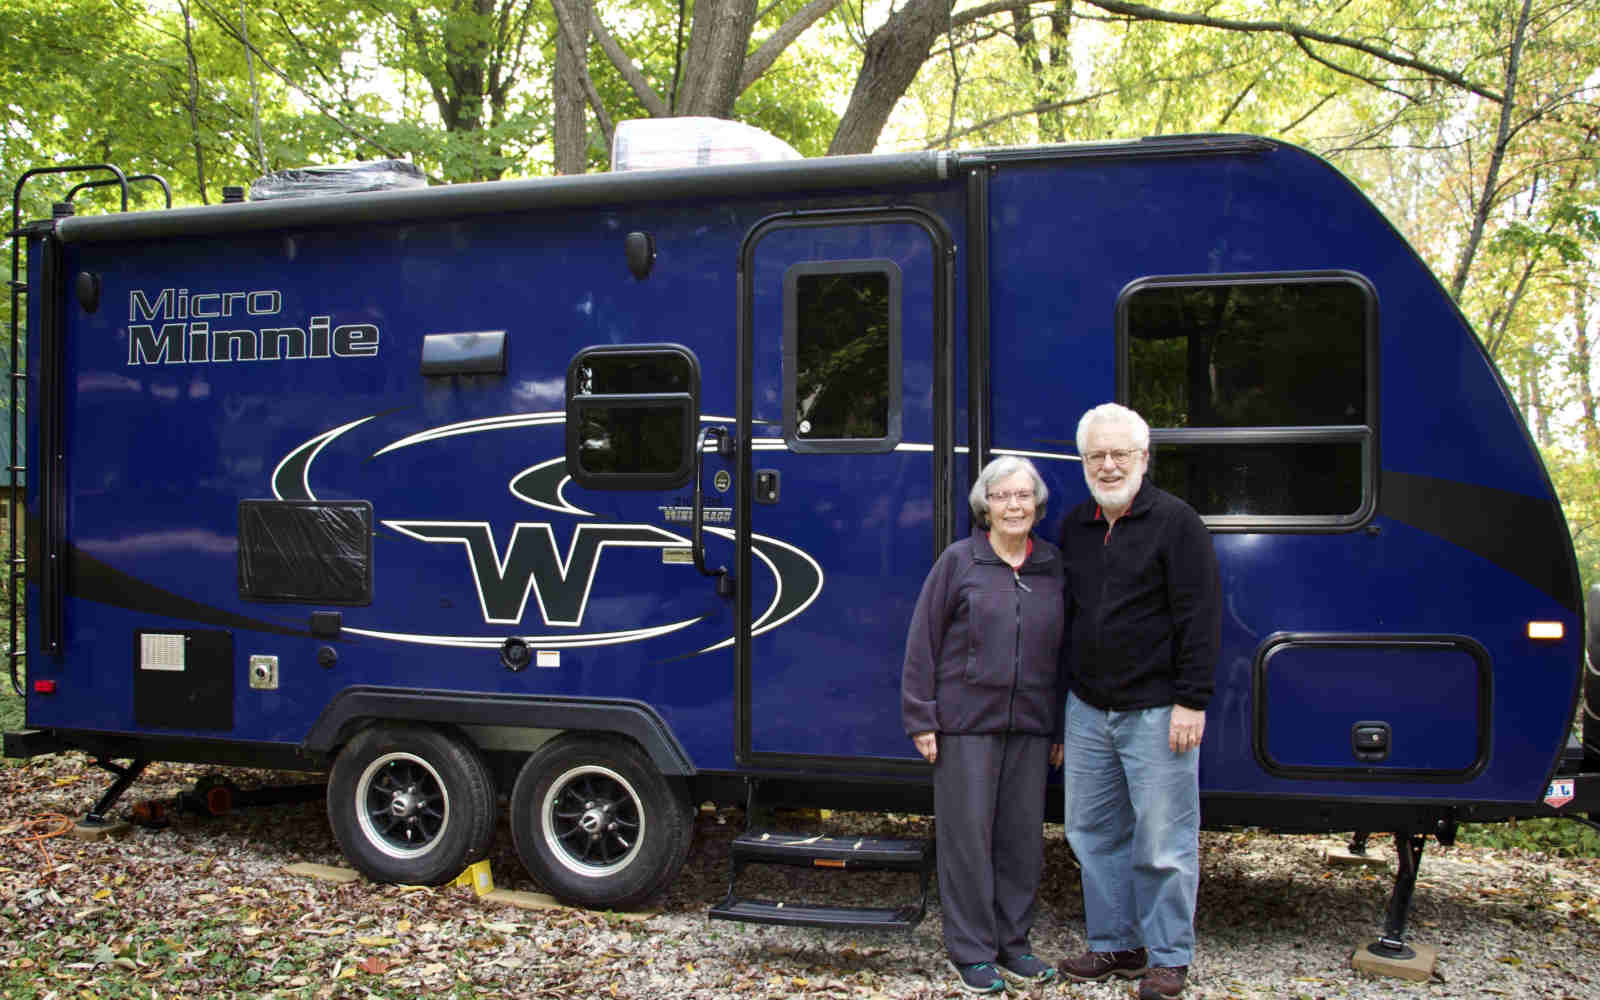
After a night unplugged and off-grid, the trickle charge coming from their SUV tow vehicle wasn't enough to fully charge the 98Ah flooded deep cycle battery which came with their Winnebago. So, in the fall of 2020, we helped them install a standard 20A DC to DC charger and they later replaced the flooded lead acid battery with 2 new HybridGel 100Ah batteries.

Lesson Learned: We initially thought that we could run the DC to DC Charger through the 7-pin connector, which connects the trailer to the vehicle for running & brake lights, but it turned out that the pin was limiting the charging current. We rewired the charger output to go through a 4 AWG cable and an Anderson Connector so that we could easily connect and disconnect the trailer and the towing vehicle. Ever since, we’ve seen a steady 20A coming from the alternator back to the two house batteries on the trailer.
This small upgrade has given them the freedom to travel and boondock for a few days in between electrical hookups. When they need an extra boost, or want to stay longer in between driving times, they simply attach their 200W Folding Solar Suitcase.
Meet “Lotus,” the truck which pulls our very own adventure rig!
When we restored Hamlet in 2011, our 1957 canned ham style camper, there was no room for a decent-sized RV refrigerator. Plus, we didn't want to ruin the vintage interior with a modern fridge. Back then, quality 12V refrigerators were simply too expensive or not well-sized for our lifestyle, let alone the 72 sq. ft. of interior living space. So, we made due with our well-used Igloo cooler in the back of our Nissan Frontier truck.
After too many years of living with a soggy ice bag, we discovered ICECO 12V fridge/freezers that were well-priced and perfectly-sized to fit into the back of our truck. We installed an ICECO VL45 in our truck which runs off of a 50Ah Lithium Iron Phosphate auxiliary battery that is charged through a 30A Dual Input DC to DC charger.

DIY Tip: When installing our Dual Input into the back of our truck, we thought we could ground the unit to the frame via a tie-down bolt on the side of the utility box. While we were able to charge the battery using the solar panel, we were only seeing an intermittent engine charge – sometimes it worked, mostly it didn’t. The ground wire was connected to the body of the truck rather than to the frame, which is what we needed to complete the circuit back to the starting battery. The utility box (truck bed) is really only bolted down to the frame so the connection wasn’t strong enough for a good ground. To solve this, we ran an 8 AWG ground wire all the way forward from the utility box area to the starting battery and grounded directly off of it. Once we made this connection, the intermittent problems ceased and we’ve been good to go!

For nearly a year, we’ve run our ICECO fridge completely off of a 50Ah Lithium Iron Phosphate battery. Even during the summer heat, our food and beverages stay ice cold. If we drive our truck for as little as 20 minutes a day, we can stay topped up and don’t need to connect to our 100W Solar Suitcase. But, if we decide to stay put at our campsite without driving for a few days, it’s no trouble to throw on the solar panel for a couple of hours to top off the battery. It’s the perfect set up for vanlifers, car camping weekend warriors, or if you are full-time on the road and want an extra fridge or freezer for your RV.
Keeping an Open Mind
In many of these DIY installations, we all learned something that was unexpected from our original plan, and we rolled with it. Whenever you’re completing a DIY project, keep an open mind. Stay objective and monitor your system rather than just relying on what you “think should be happening.” Keep all of your connections appropriately sized and fused for safety…and keep on learning. Give us a holler if you run into trouble, we love to help folks troubleshoot their systems!
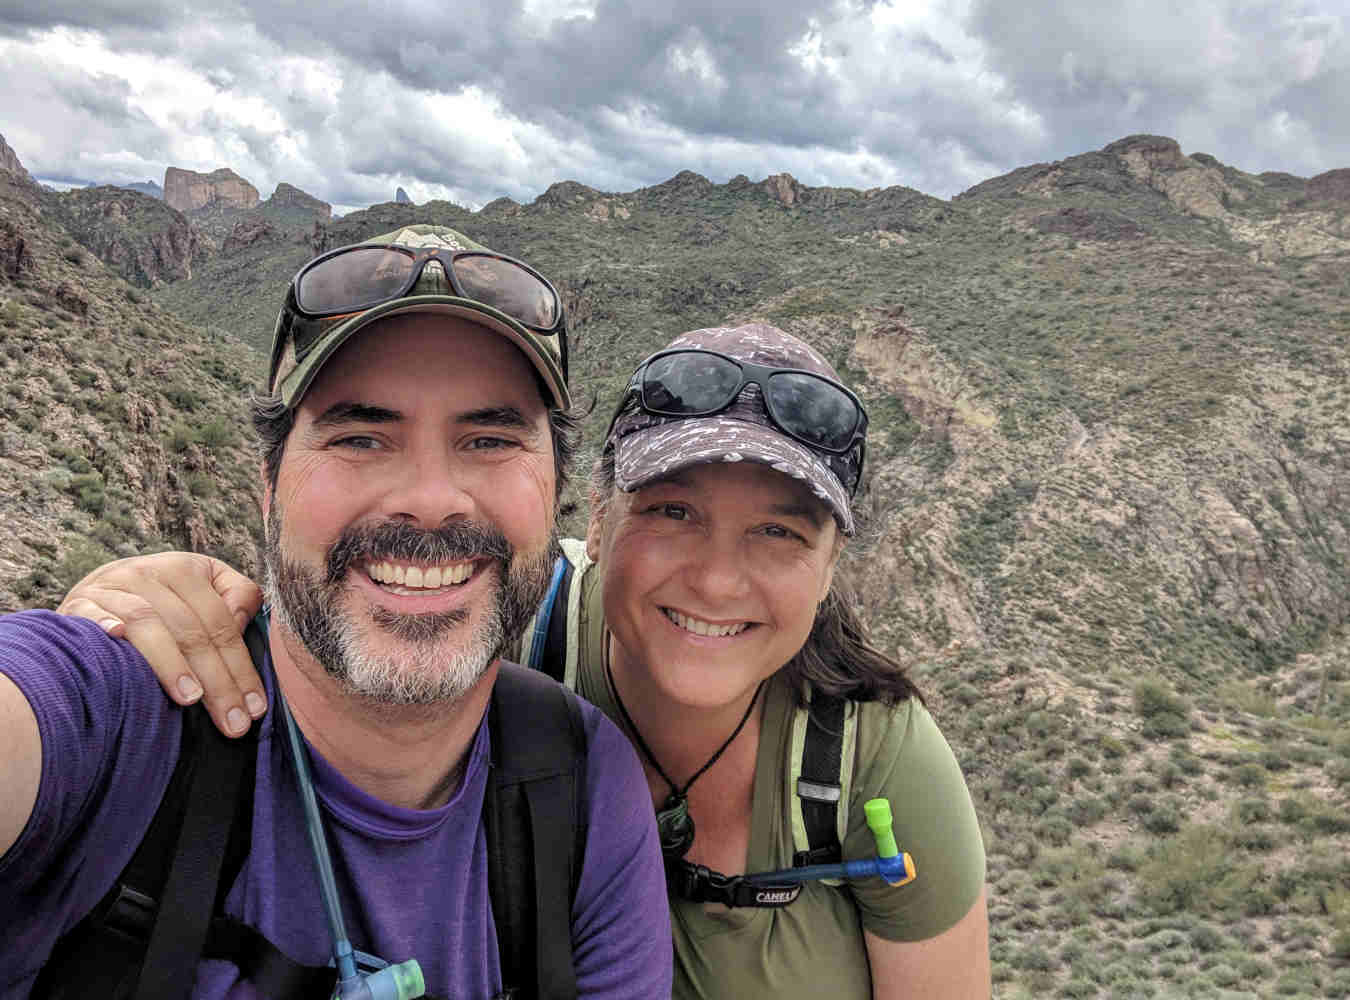
In 2012, Shari Galiardi & David Hutchison left behind careers and a comfortable home in North Carolina to travel with the vintage camper trailer they lovingly restored, outfitted with solar, and named "Hamlet." What began as a short break from careers and responsibility quickly turned into a love affair with roadlife. They have parlayed their higher education backgrounds, desire for life-long learning, and thirst for adventure travel into writing, photography, video production, and public speaking gigs from coast to coast. Known to their friends as simply Shari & Hutch, you can learn more about their full-time, solar-powered adventures on their website at freedominacan.com. Or, follow them on Facebook, Instagram, and YouTube as “Freedom in a Can, LLC.” Note: All links contained within this blog contain affiliate links provided by Freedom in a Can.
See other related articles at Renogy:
Solar Panels Maintenance Best Practices And Costs
A Guide to Installing Solar Panels On Van Or RV
Solar Panels 101: A Beginner's Guide
The Ultimate Guide To DIY Off-Grid Solar Systems
Do solar panels increase home value
How efficient are solar panels

